created and edited by: @literallystarlord(ig)
Veronica Fuentes
Owner of foreverpaz custom screen printing
Hello my name is Veronica Fuentes
I do custom screen printing and i'm known as a screen printing entrepreneur. I started screen printing in 2011 and made it an official business in 2016 in South Central, LA.
"What is Screen Printing?"
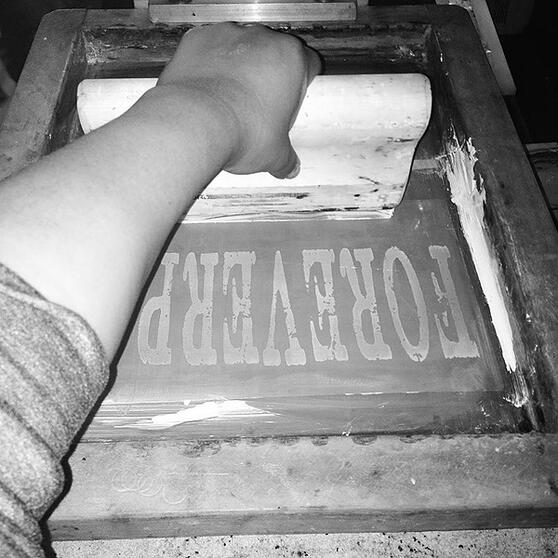
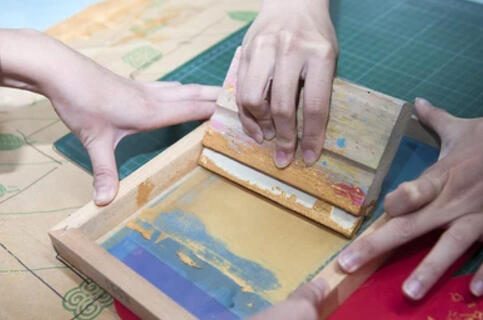
Screen printing is the process of transferring a stenciled design onto a surface using a mesh screen, ink, and a squeegee.
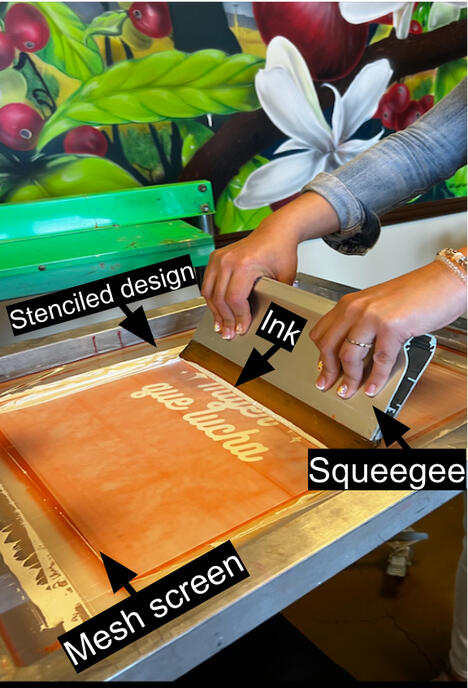
The basic process of screen printing involves creating a stencil on a mesh screen and then pushing the ink to create and imprint the design on the below surface. The most common surface used in screen printing is paper and fabric, but metal, wood, and plastic can also be used.
"How can I make my own custom printing at home?"
To make shirts or your choice of cloth at home you need to own a Screen Printing Press.

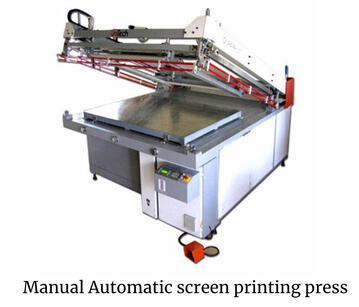
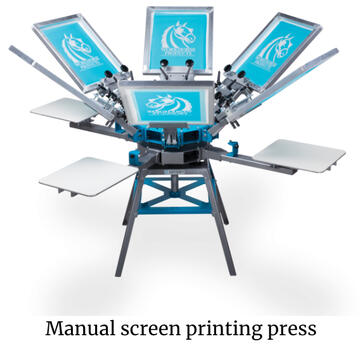
Manual presses are operated by hand, meaning they’re quite labor intensive. Semi-automatic presses are partially mechanized, but still require human input to swap over the items being pressed, while automatic presses are completely automated and require little to no input.
Note: Businesses that need to print items in large quantities will normally use a semi- or fully automatic press, as this allows faster, more efficient printing and minimizes mistakes. Smaller companies, or those who do screen printing as a hobby, might find that a manual table-top press (sometimes called a 'hand bench' press) is better suited to their needs.
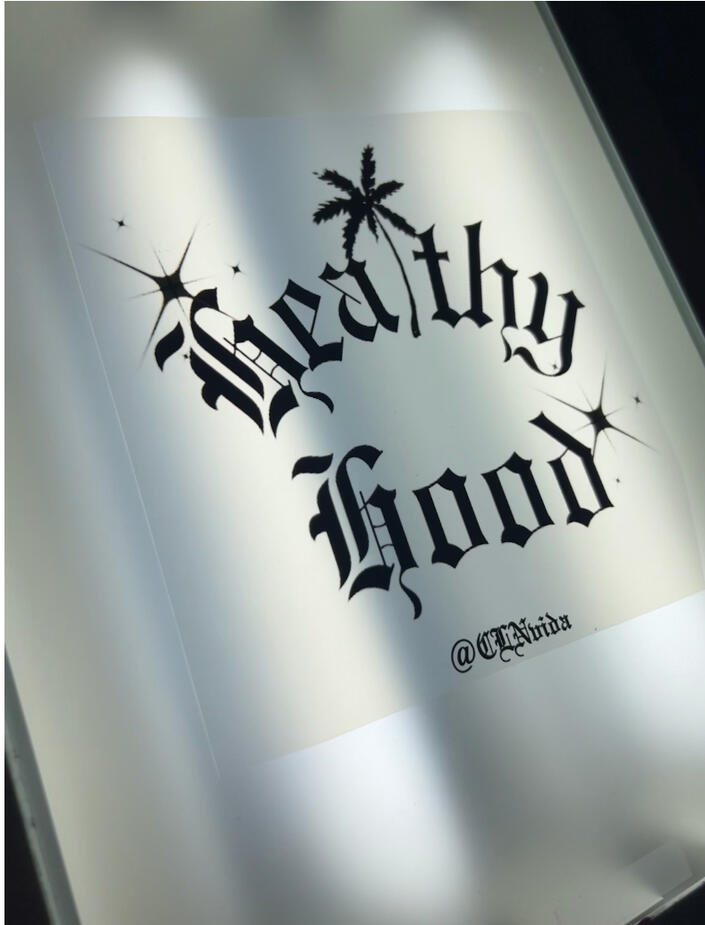
STEP 1: PREPARING YOUR ARTWORK
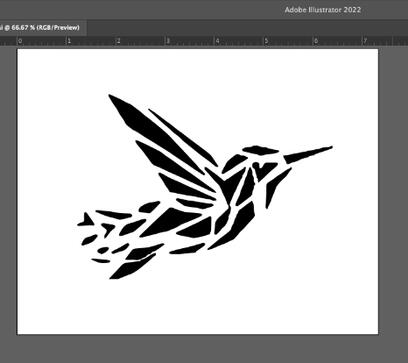
Preparing artwork for t-shirt printing involves ensuring the design is in the correct format, resolution, and color space. This ensures you can print it on a t-shirt with your desired printing area.
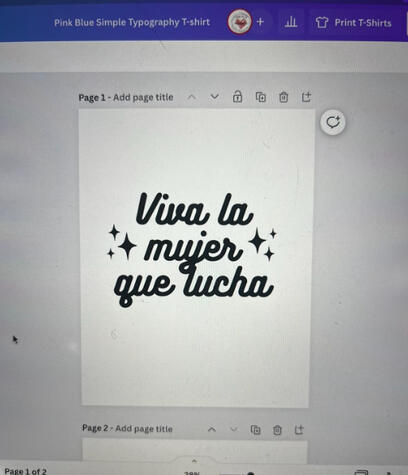
It usually involves specialized software to create or edit artwork. Also, exporting the design in a specific file format compatible with the t-shirt printing process.
But sometimes you must work hard for hours on a t-shirt design for yourself or a client.
Sadly, the printer tells you the design won’t work for t-shirt printing. This problem is not uncommon. Below are a few easy tips on preparing your artwork for printing.

When screen printing t-shirts, you print one color at a time. If you are printing multiple colors, you will need a way to separate the colors from each other so you can create different screens for your design. You need one color per screen.
STEP 2: MAKING A SCREEN
Once you have printed on the films, it is time to make the screen. A screen printing frame consists of a wood or aluminum frame stretched with polyester mesh on it.
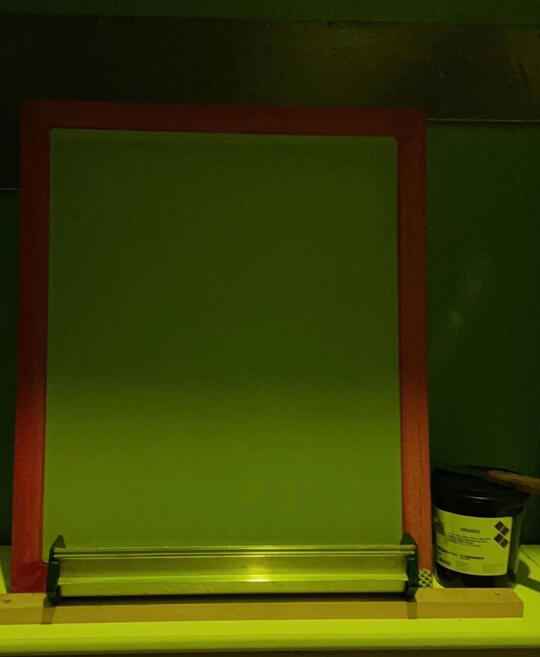
You will need to coat the mesh with emulsion in order to expose the design onto the screen. Emulsion is light sensitive, so coating the screen is typically done in a dark room that has special light-safe yellow bulbs in it as seen in the photo
Applying the emulsion onto your screen requires the use of a scoop coater. You should select your scoop coater size based on the size of your screen. A 4″ difference between the scoop coater size and the outside dimensions of your screen is recommended. This allows for a small space of open mesh on all sides of your scoop coater to make coating easy while giving you the largest comfortable area for printing.
STEP 3: EXPOSING A SCREEN
After the screen is coated and dried, align your film positively onto the screen and expose it with a screen printing exposure unit or an exposure lightbulb for an allotted amount of time. The screen hardens to light, but the film positive or black area of the film blocks light from reaching the emulsion. This leaves the area of emulsion unexposed or soft.Finding the right exposure time is a difficult task. Many factors like type of emulsion, type of exposure unit, mesh count, mesh color, humidity levels, and more can affect how long a screen needs to be exposed. After the screen is exposed, simply rinse it with water. The soft part of the emulsion that was not exposed rinses out, leaving areas of the mesh open that reflect your design